Jupyter Notebook and Conda in VSCode
This tutorial assumes that you have installed conda and created a conda environment for the workshop. It also assumes that you have downloaded and installed the VSCode application and added extensions for: Python and Jupyter.
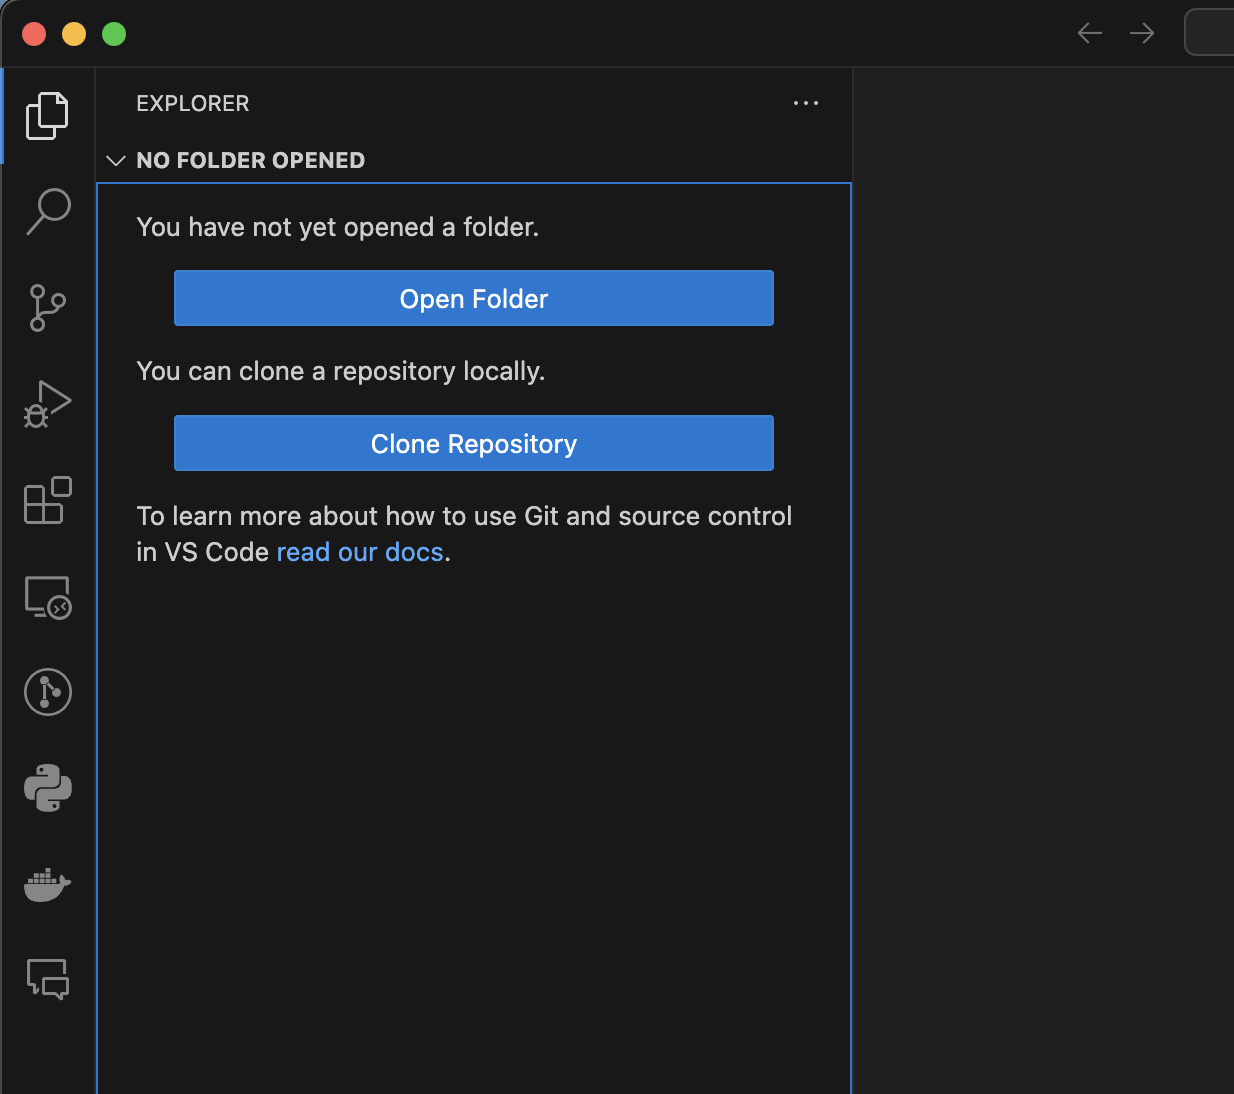
Open the VSCode application and use the file navigator to open a folder to save your work during the workshop.
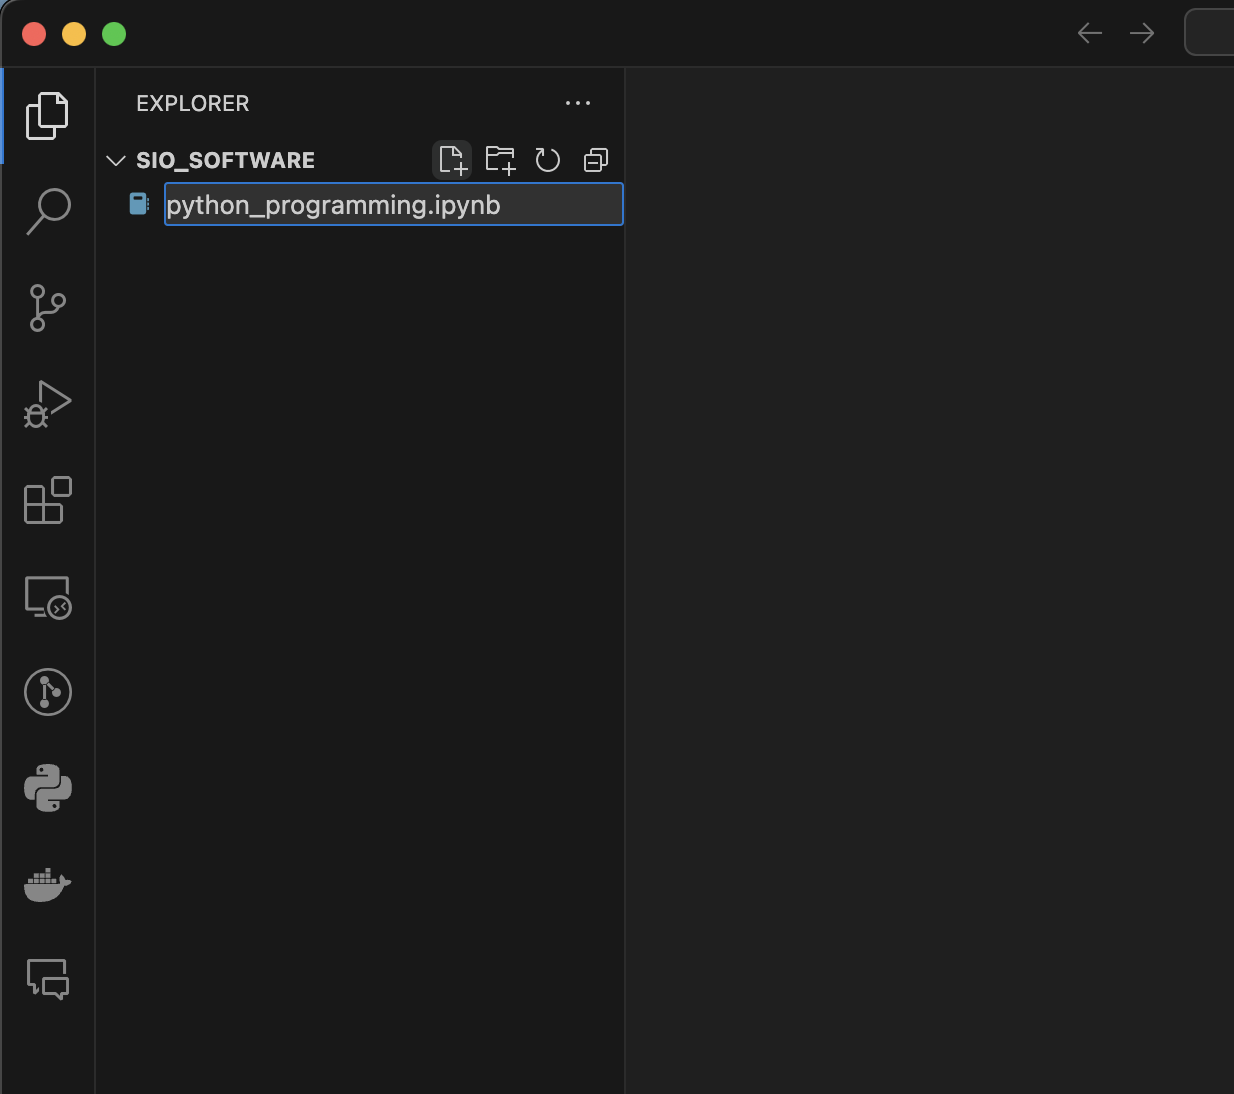
Create a new file, and make sure it has the .ipynb ending which will indicate to VSCode that it is a Jupyter notebook.
Once you save the new name, the file should show a Jupyter cell and a spot in the upper right to
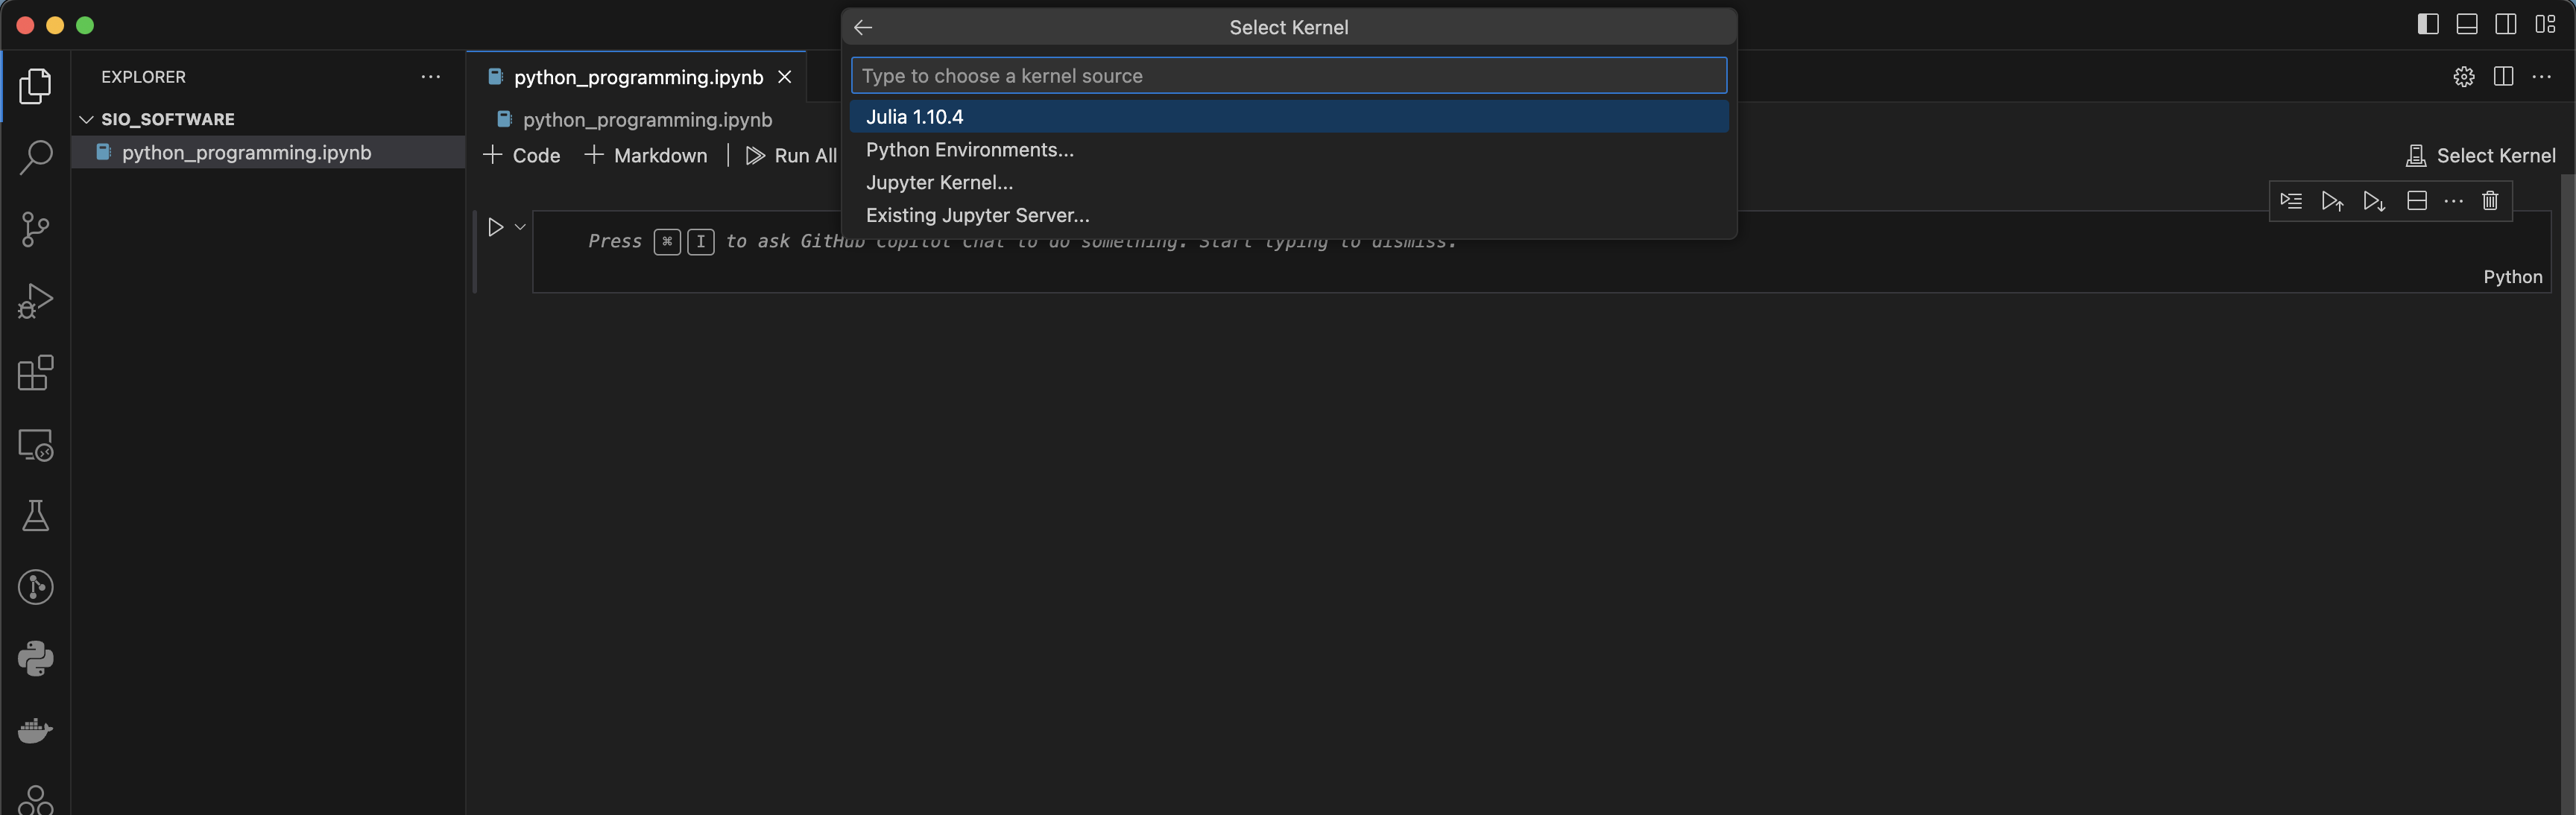
Select Kernel.
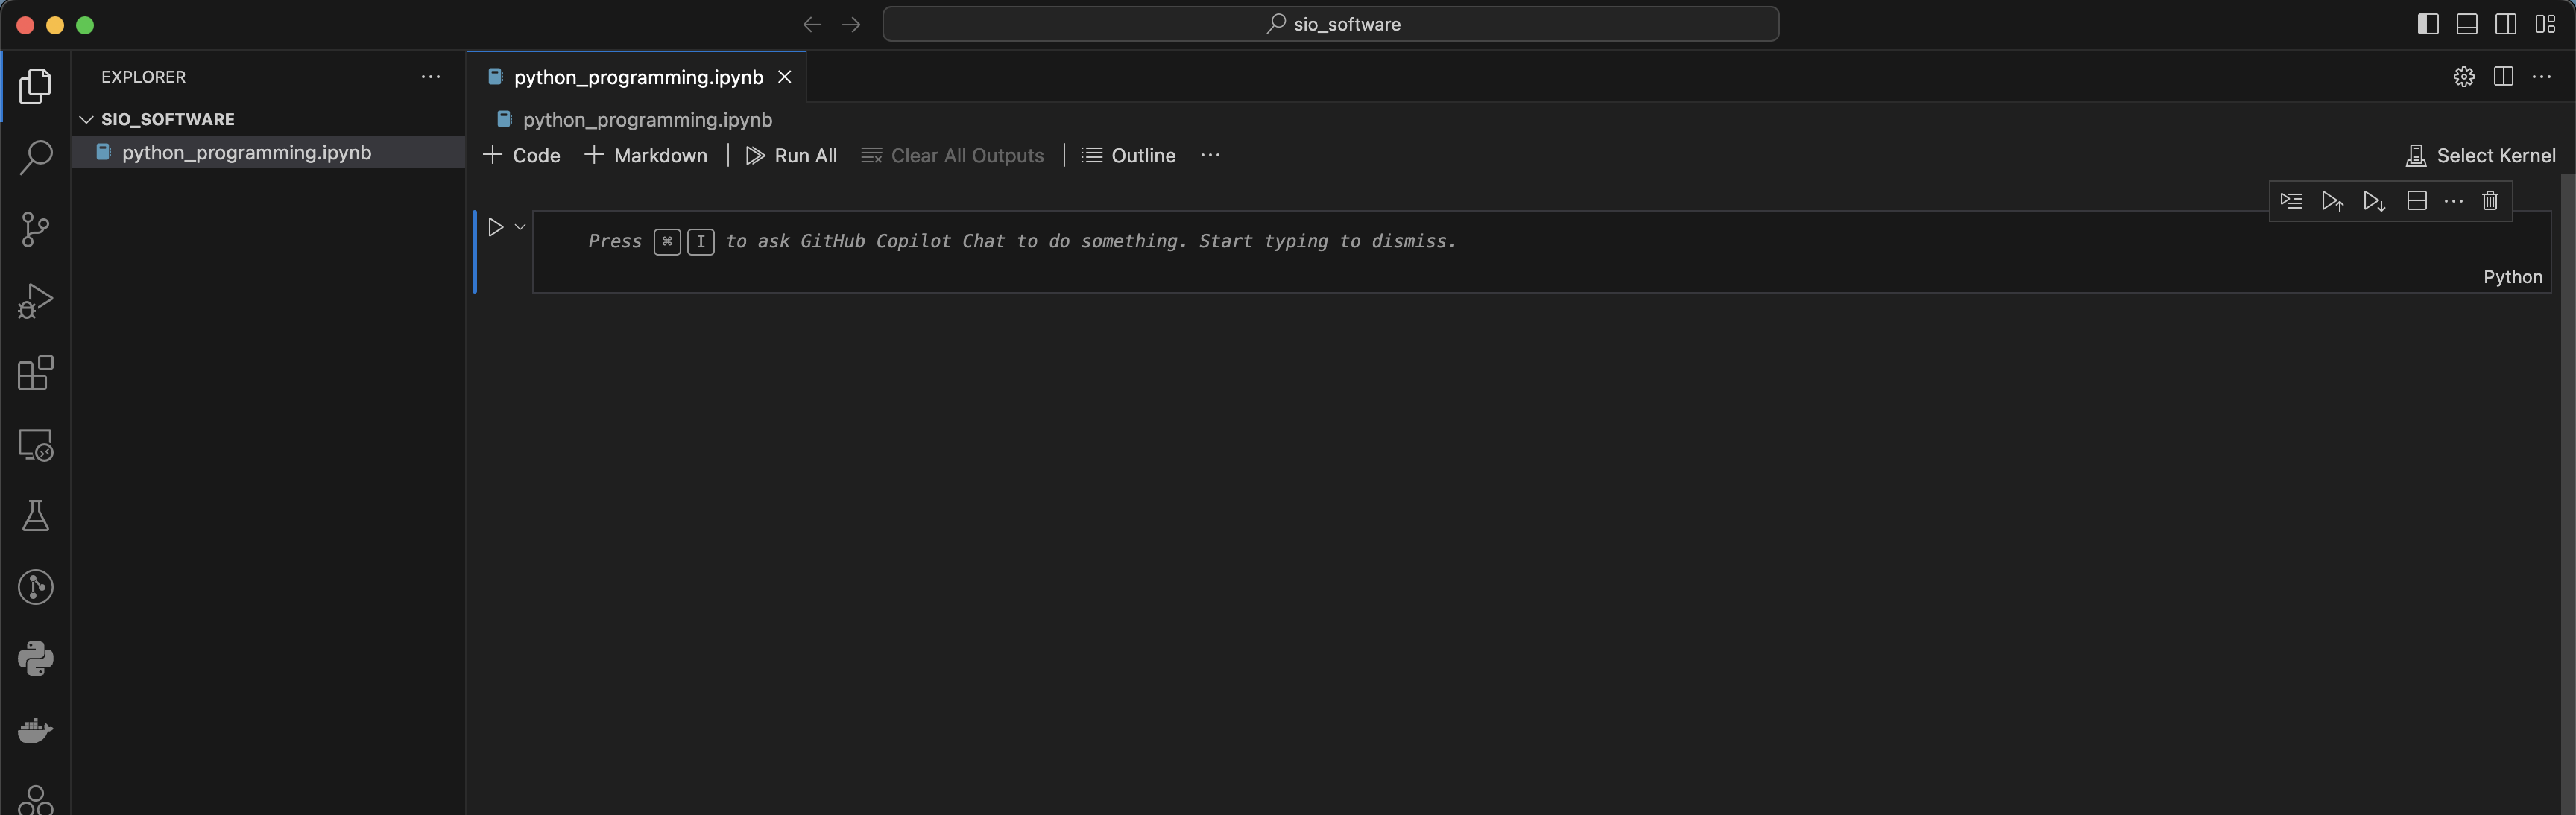
Click
Select Kerneland from the drop down menu selectPython Environments.
This will show you a list of available conda environments, select the one you made for this workshop.

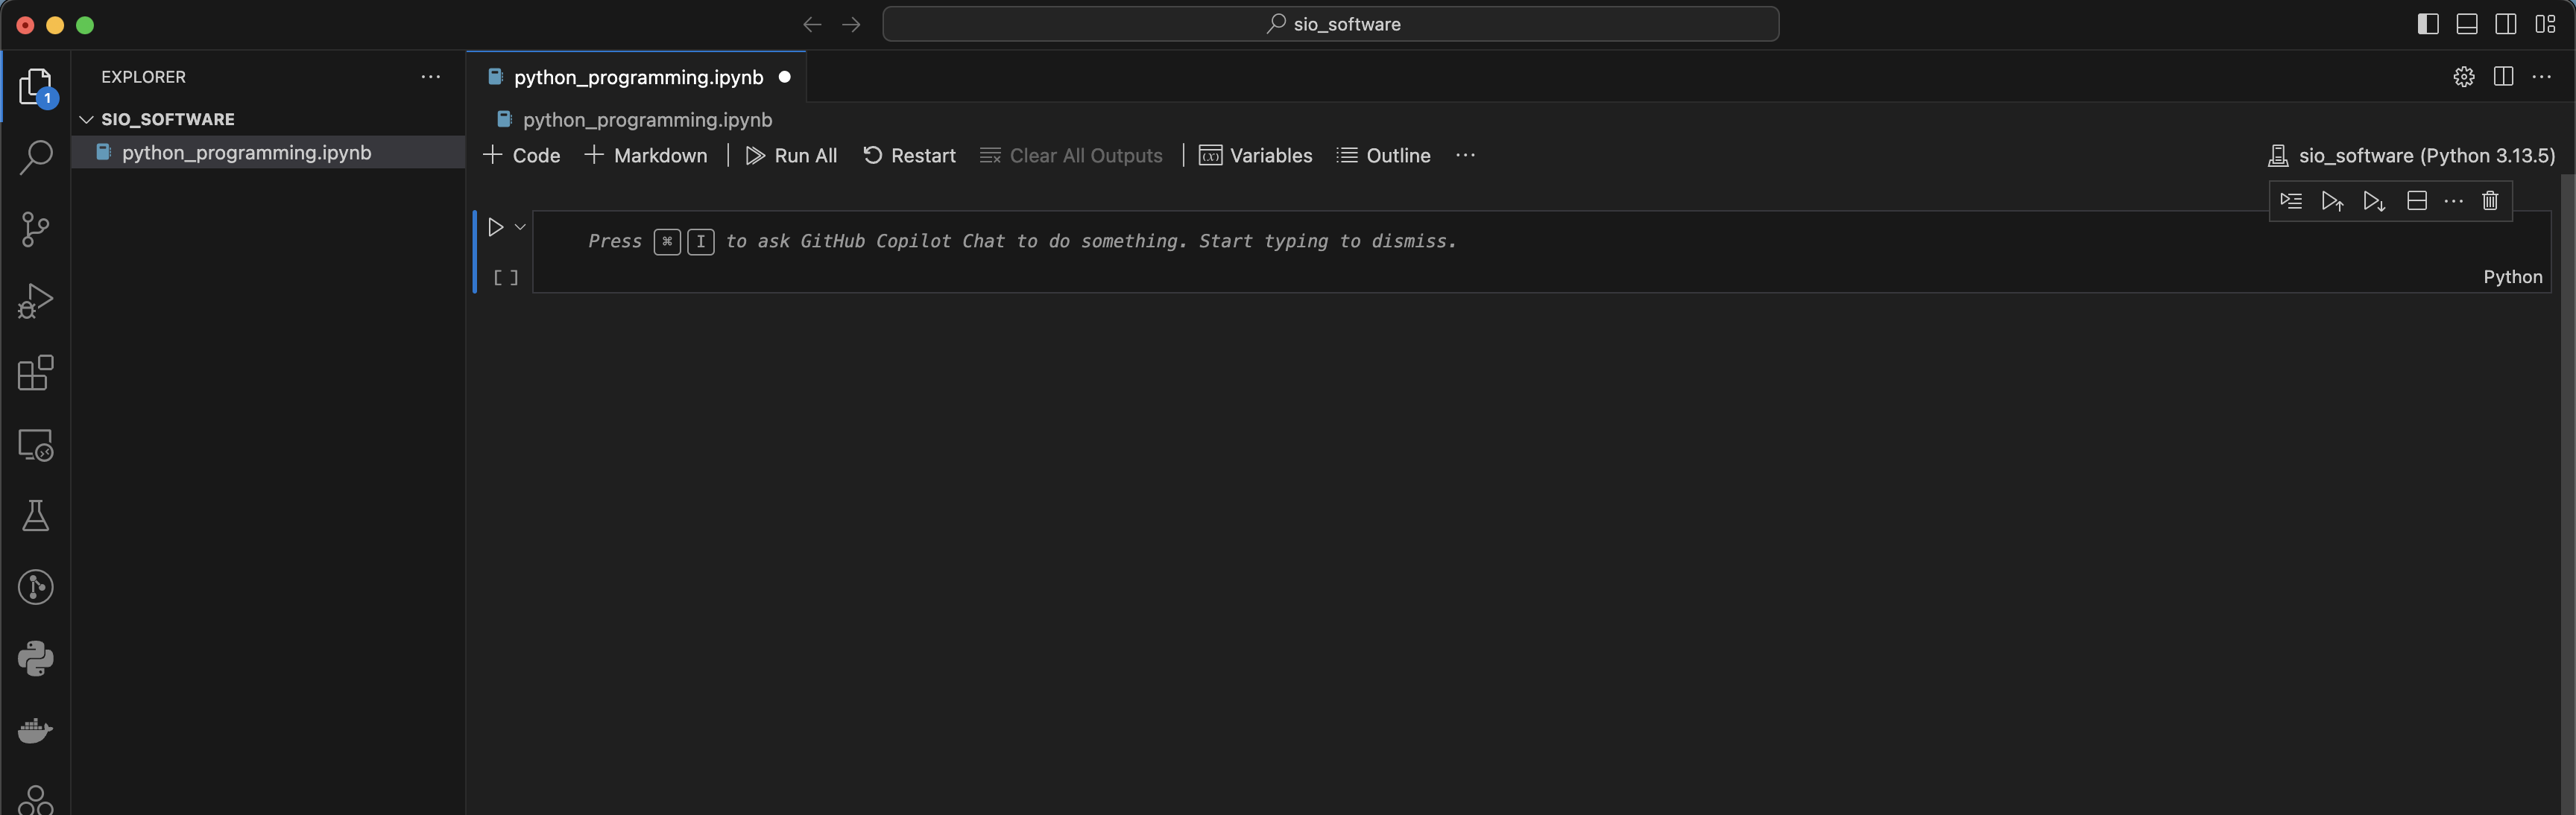
At the end you should have a Jupyter cell with the selected conda environment indicated in the upper right.